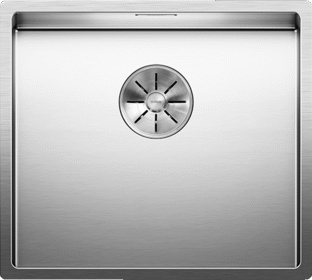
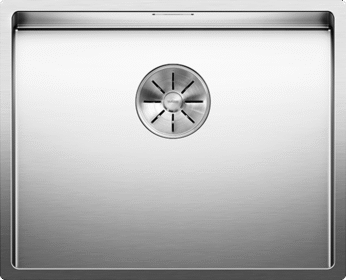
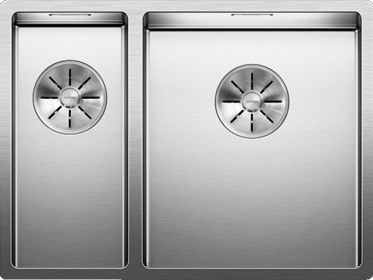
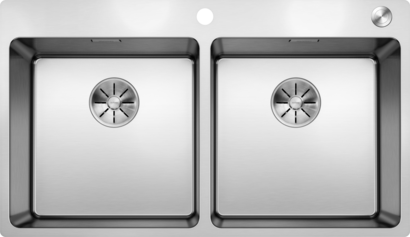
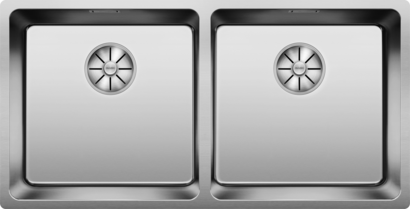
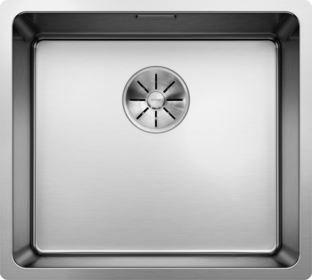
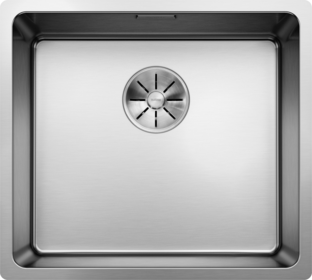
CLARON
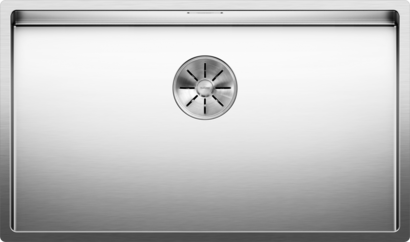
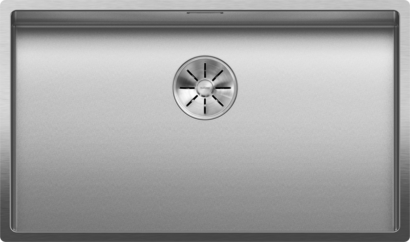
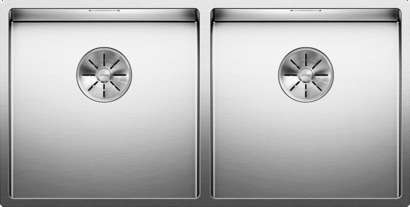
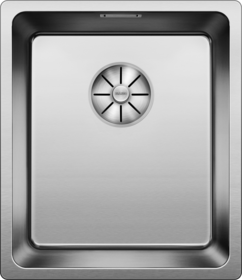
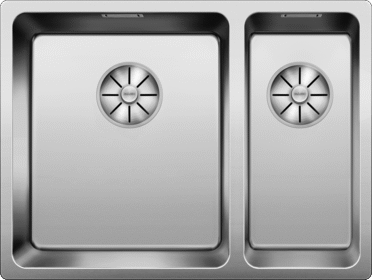
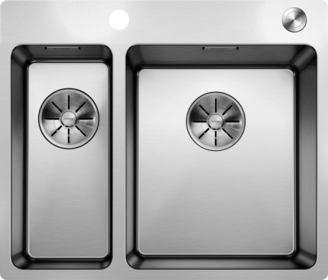
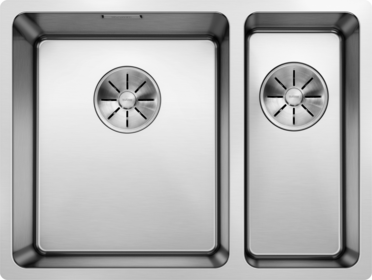
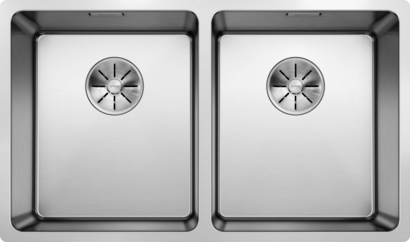
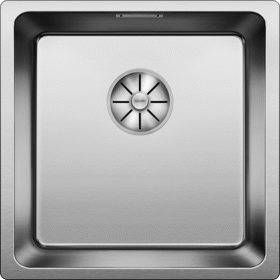
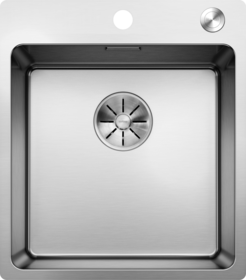
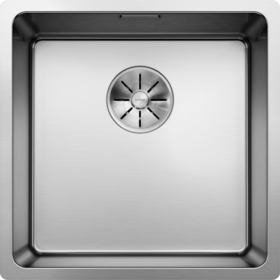
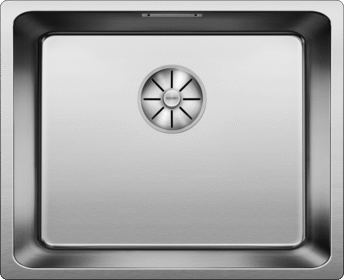
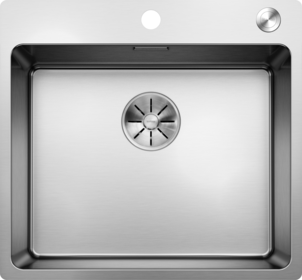
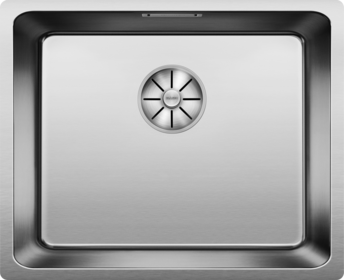
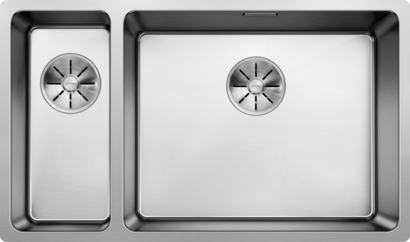
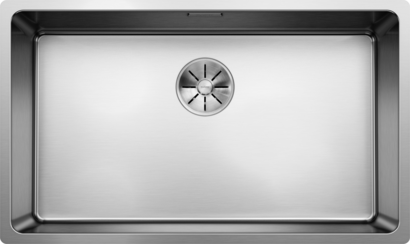
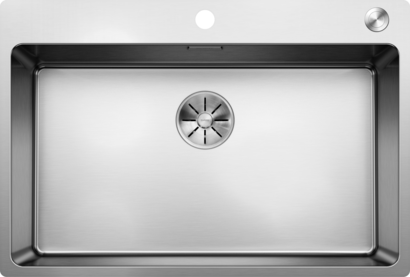
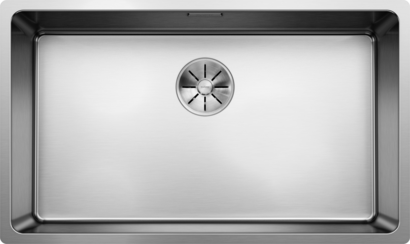
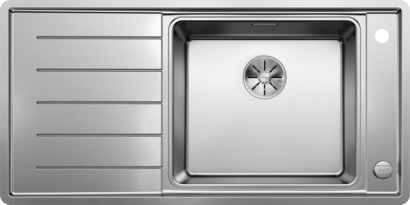
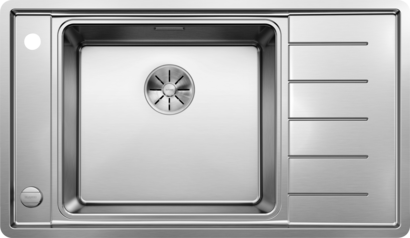
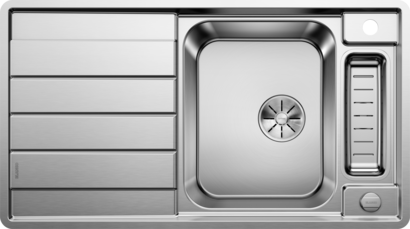
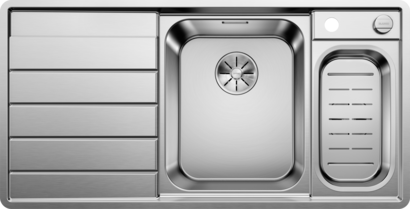
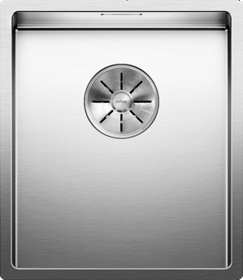
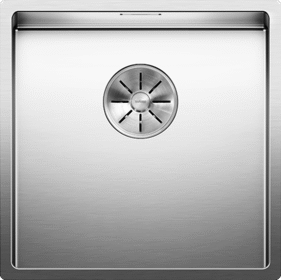
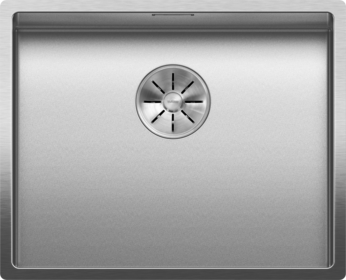
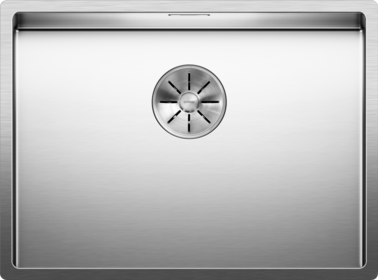
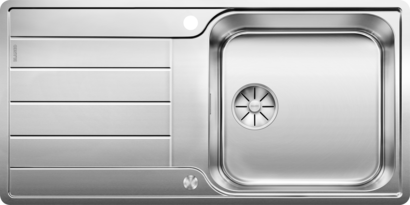
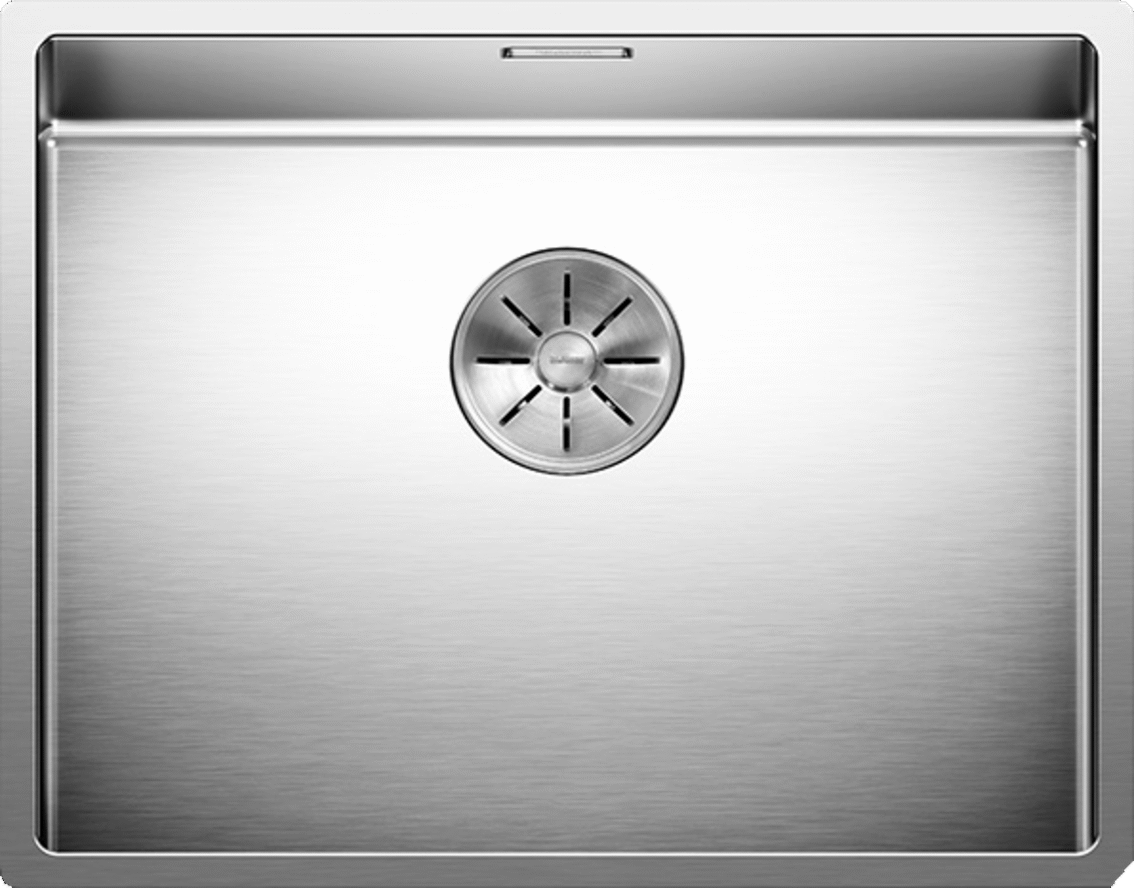
CLARON XL 60-U Steamer Plus
raw material: Stainless steel
drainboard: No | version: without pop-up waste | Bowl Position: universal handing | Installation Options: 1 | min. cabinet size: 600 mm
Article number 521596
Accessories
Recommended Accessoires
Data & Documentation
Data sheet & Documentation
- Bowl Position
- universal handing
- apron front
- No
- corner sink
- No
- drain valve
- with 3 ½'' InFino basket strainer
- drainboard
- No
- flush undermounted installation
- No
BLANCO UNIT
Our BLANCO UNIT recommendations
CLARON XL 60-U Steamer Plus in BLANCO UNIT
Models
Other CLARON models
Care Products
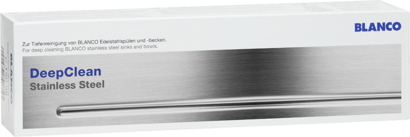
Care products for your CLARON XL 60-U Steamer Plus
Spare parts
Spare parts
| № | Image | Article numbers & descriptions | Price |
|---|---|---|---|
 | Waste fitting set for single bowl Art. ID: 234073 labels.product.sparePart.validFrom 09/2021 | £69.49 | |
 | Fitting set 1x3,5" without pop-up control C-overflow SA InFino (replaced by 234073) Art. ID: 234428 labels.product.sparePart.validFrom 12/2016 | ||
 | Mounting kit stainless steel sinks Art. ID: 212594 labels.product.sparePart.validFrom 12/2016 | ||
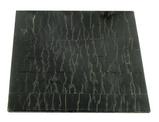 | Anti drumming plate 100x100x1.9 mm (replaced by 227541) Art. ID: 213663 labels.product.sparePart.validFrom 12/2016 | ||
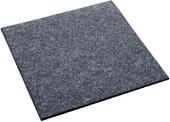 | Anti drumming plate Art. ID: 227541 labels.product.sparePart.validFrom 12/2016 |
FAQ
Frequently Asked Questions
Stainless steel stays just as it is: resistant and rustproof. This is due to its passive coating, which is constantly regenerating itself. You should clean your stainless steel sink thoroughly in order to ensure that it stays shining for years to come. It is particularly important to remove all dirt and limescale deposits. However, your sink will not respond well to cleaning agents containing chlorine or hydrochloric acid. Strong sodium chloride solutions that take too long to work are also a no-go. But what if you’ve spotted a couple of tiny reddish-orange marks on your stainless steel sink? If stainless steel comes into contact with rusty objects, such as cheap, unprotected steel, the rust can transfer onto your sink. This is nothing to worry about. You can wipe the rust away in one swipe using a damp sponge and a special stainless steel cleaning agent, and your sink will be spotlessly clean once again.
Even showpieces like our stainless steel sinks sometimes get little marks on their surface. This is usually due to limescale deposits caused by water. These limescale deposits like to gather dirt particles, so you’ll notice small marks on your otherwise sparkling sink. Another culprit is small iron and rust particles from the water pipes. These appear to leave traces of rust on your stainless steel sink. However, you can get all this under control in no time. Impurities and traces of limescale can be removed in a trice with a damp cloth. If you’re struggling to remove any stubborn limescale, it’s time to try a special cleaning agent. Once that’s done, your stainless steel sink will look the way you remember once again: sparkling clean
Such radiant shine requires a little TLC. It doesn’t take much effort, but it needs to be done frequently. So if you want to avoid little marks on your stainless steel sink, rub it dry after each use. You don’t need to scrub it vigorously. After rinsing, simply wipe it with a soft cloth and a mild cleaner, then dry it – all done! If you do spot an unwanted mark, use a descaling cleaning agent specially designed for stainless steel. Together with a suitable stainless steel cleaning sponge, the surface will be so spotlessly clean that you’ll wonder where those marks went so quickly.
Brand new but a few little scratches already: your stainless steel sink will be a little susceptible to this at first. However, there’s no need to worry. This is completely normal, even with our top quality stainless steel. Just wait and see: after a few days, many of the little scratches will appear to have vanished again. What’s happened? The scratches haven’t vanished into thin air; instead, they close over slowly, thanks to the effect of oxygen. This is constantly renewing the passive coating. As such, the stainless steel sink in your kitchen heals itself. Taking good care of your sink will start to pay off within just a few weeks, so use care products and a sponge on it regularly. The more attention you give to your sink, the more scratch-resistant it will become.
We do our bit to make sure that you’re all set up, so our stainless steel and ceramic sinks come with a punched-out tap hole. This means that you won’t have to do any extra work before installing it. Silgranit sinks are milled from the underside. You simply have to knock through the pre-milled holes. How to do it: first place the sink in a sturdy holder. Now take a punch and place it in the middle of the mark. Use a hammer to hit the punch holes for the mixer tap, soap dispenser and drain remote control, as required, without exerting force on the punch itself. Then carefully knock the rest of the Silgranit pieces out of their marked holes. Now get a file and file the hole to the right size. You may need to do this if the hole is flush with the preliminary milling. Now there’s only one thing left to do: insert your mixer tap, and off you go.
The basket strainer in the secret hero in your sink. After all, it prevents your sink from getting clogged up, thus ensuring perfect functionality. Over time, however, the basket strainer will collect some dirt, so you should give it a clean every now and then. You don’t even have to buy a special cleaner for that purpose. Here’s our trick: put a level teaspoon of powdered dishwashing detergent onto the closed basket strainer. Pour approx. 250 ml boiling water over it and leave the solution to work. Now brush and scrub it (e.g. with a dishwashing brush) until the basket strainer and drain cup are shining once again. Finally, open up the basket strainer and take out the basket insert. Now you have room to clean the hole opening in the drain cup. Once this is squeaky clean too, reinsert the basket insert and rinse it with clean water.

